
No products in the cart.


GY-271 (HMC5883L) 3-Axis Magnetic Electronics Compass Module
Out of stock
EGP125.00
Out of stock
Add to WishlistRemove from Wishlist
Add to Wishlist
Description


Only logged in customers who have purchased this product may leave a review.
Related products
16%
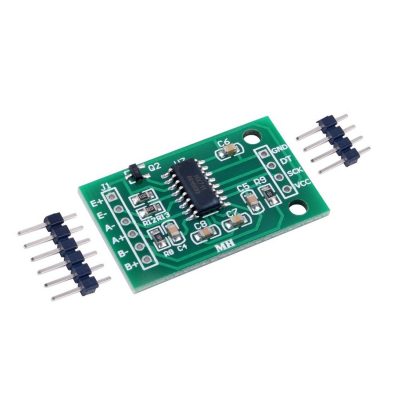
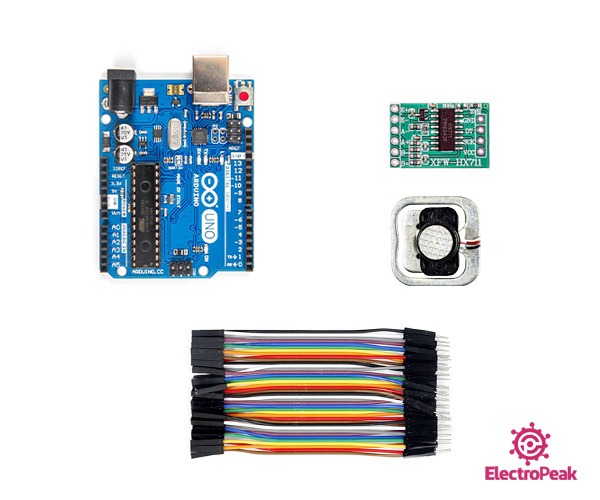
HX711 ADC Converter Breakout Module for Load Cell Weight
Original price was: EGP65.00.EGP55.00Current price is: EGP55.00. Add to cart

LASER Module 5V
EGP30.00 Add to cart

- Image
- SKU
- Rating
- Price
- Stock
- Availability
- Add to cart
- Description
- Content
- Weight
- Dimensions
- Additional information
Reviews
There are no reviews yet.